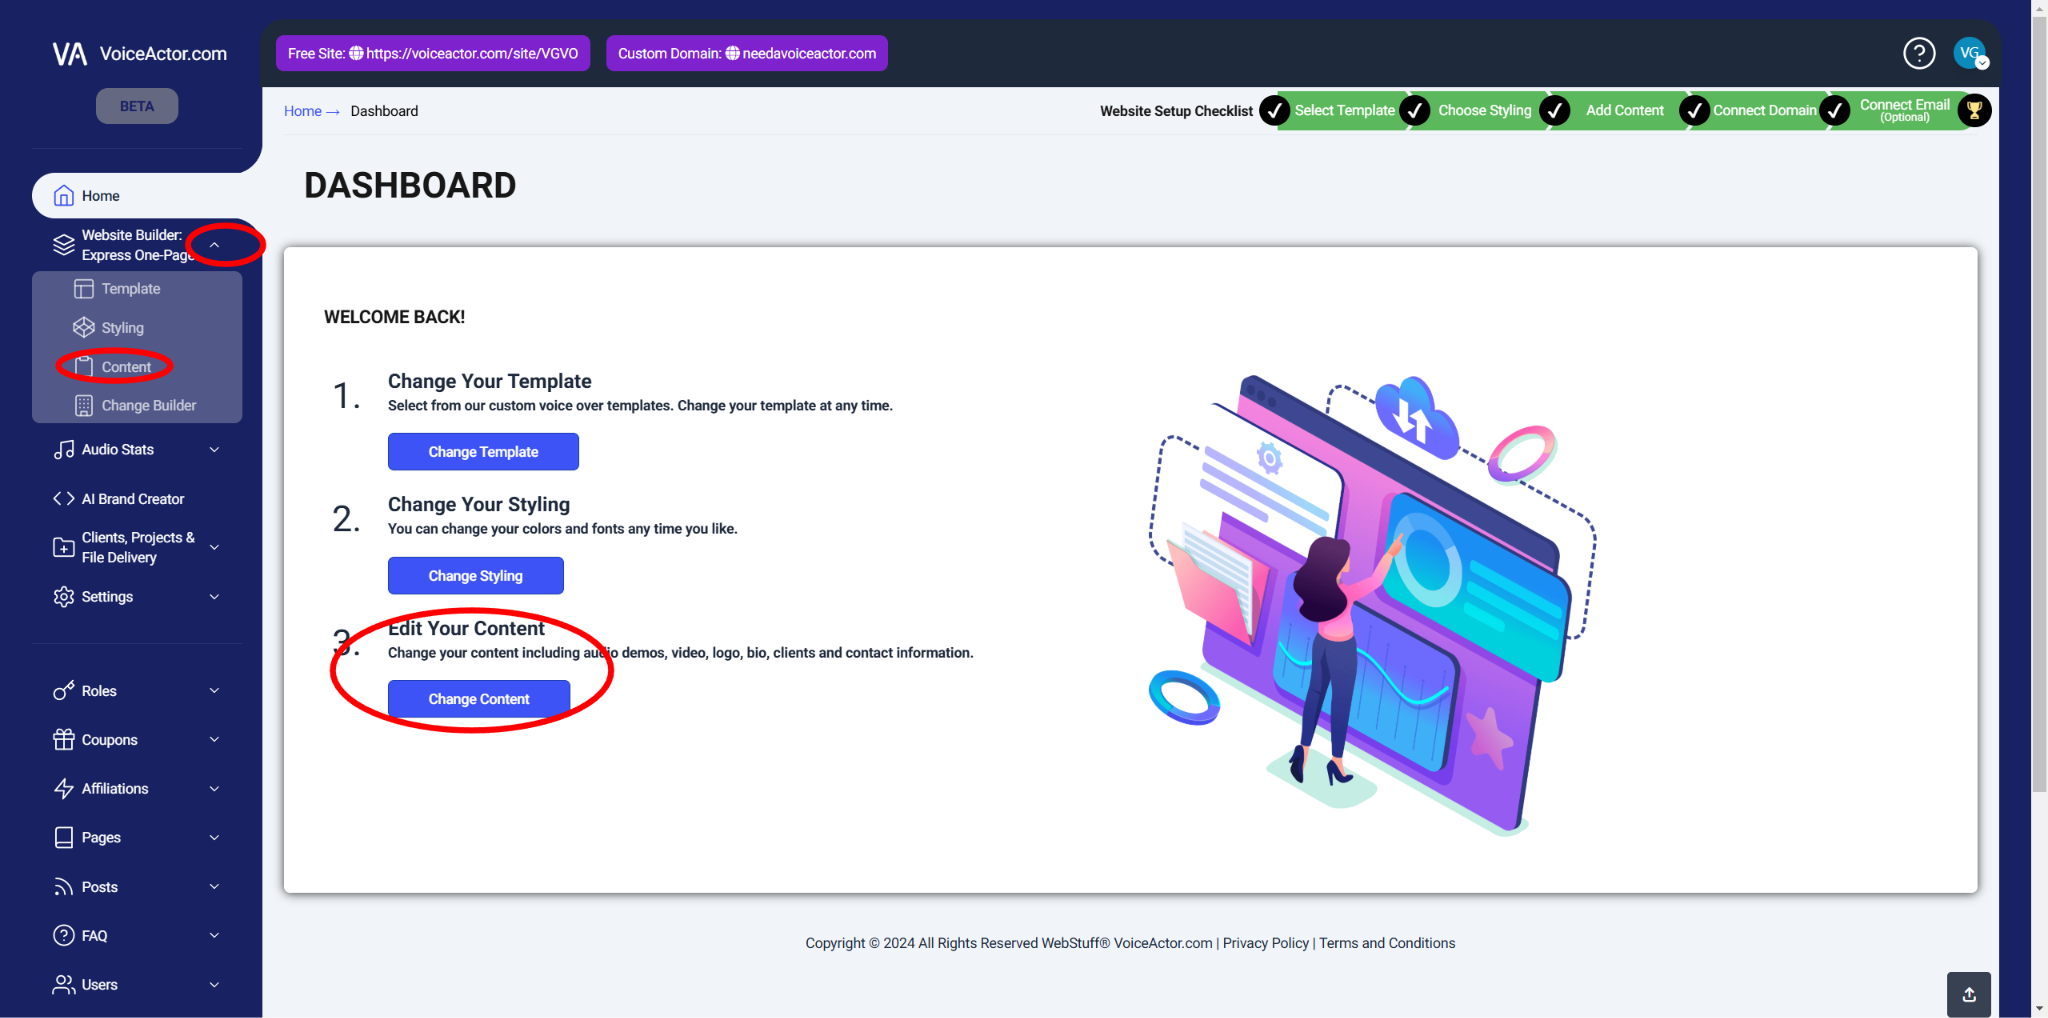
From your home dashboard page, there are a few ways to access content. Circled here:
When you land on the content page, you will see that everything is laid out in sections. With each section you have the power to toggle on a section or toggle off so it's hidden from public view.
Starting from the top here are some tips and information to help you fill out your content page for your website.
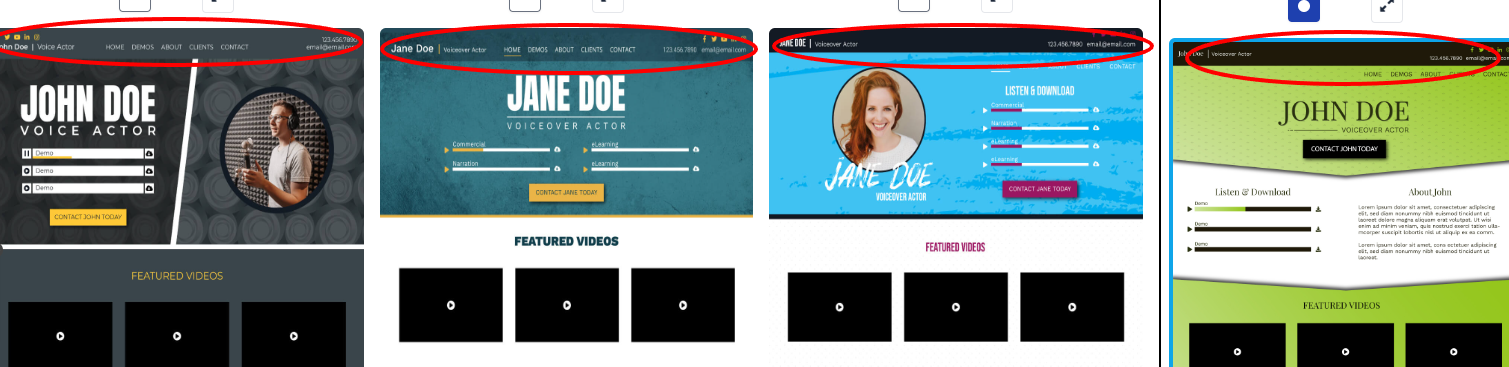
Header: This section might be specific to your chosen template and control elements like logo or navigation bar.
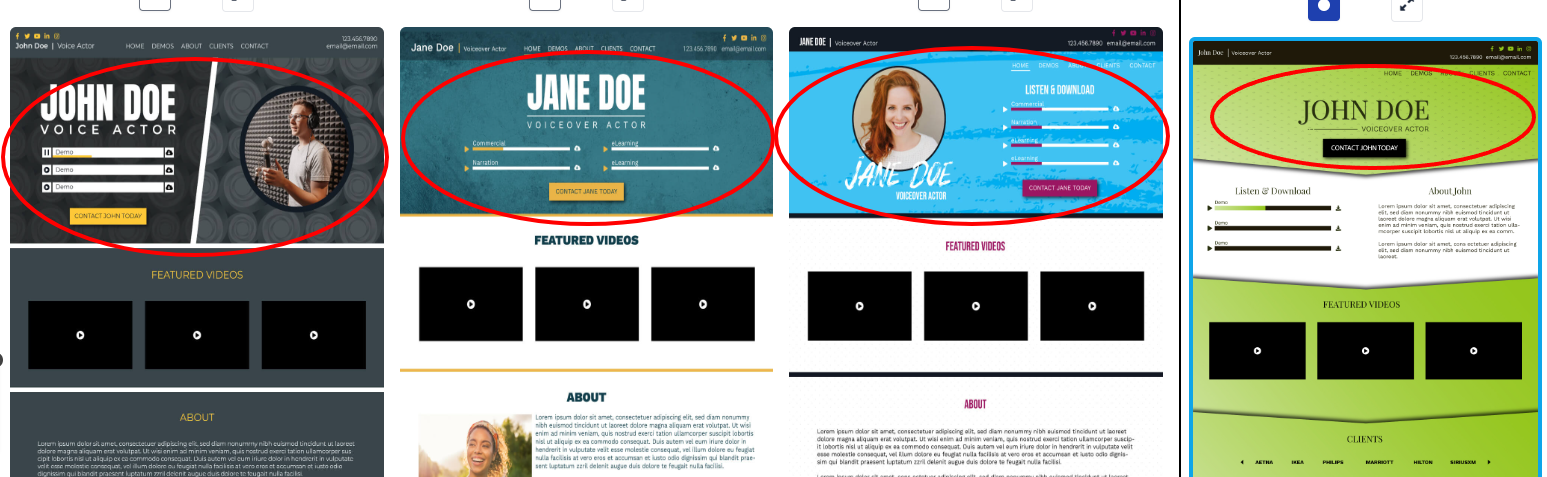
Top Banner Area
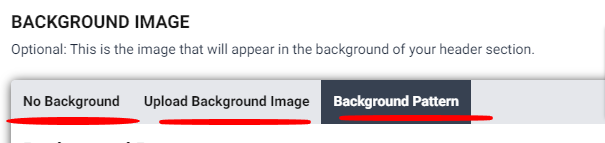
Background Image
This is the background for your banner area. You have 3 selections to choose from.
No Background
Upload Background Image, Upload your own photo to be the background in your banner area
Background Pattern, which we have a variety of preset patterns for you to choose from.
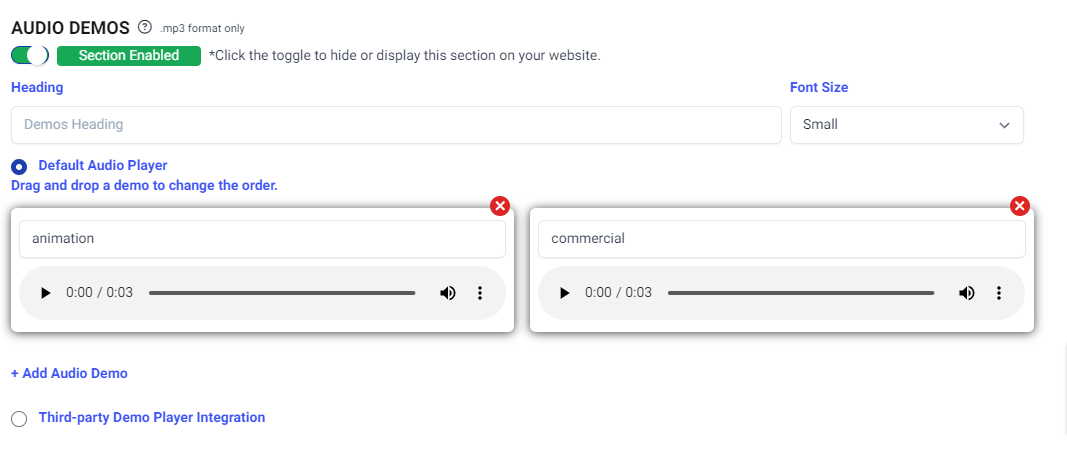
Audio Demos
With this section you can simply upload your mp3 demo files by clicking on +add audio demos and then dropping it in the box that pops up. By clicking on the little question mark next to the title “Audio Demos” it gives you the specs for what the file should be.
“Heading” bar, even though it looks blank, the default you will see on your site is “listen and download” if you are fine with that as your demo heading, no action is required. If you want to change it to something else, simply type in what you would like in the Demo Heading bar. You also have control of the size you would like.
The Third-party Demo Player Integration is used for media players such as voicezam, so you can utilize those on your new website as well.
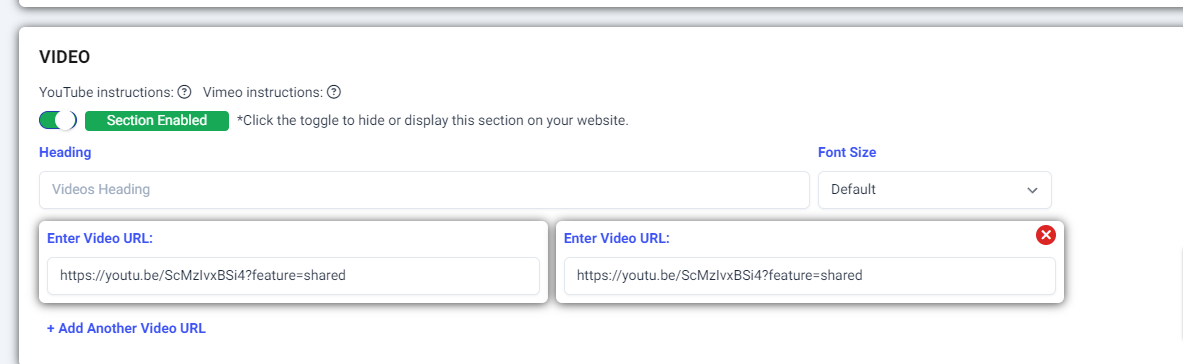
Video
Toggle visibility of the video section on/off.
Set a heading (default: "Featured Videos").
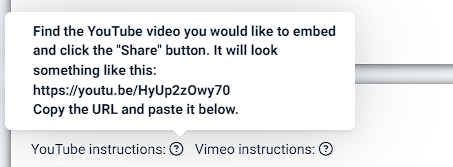
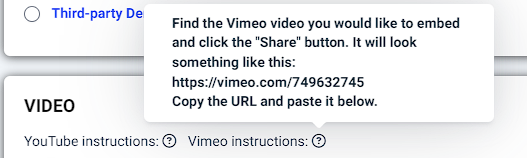
Add videos by pasting URLs from YouTube or Vimeo (refer to specific instructions for each platform).
Please note that there are certain instructions for both YouTube and Vimeo. Instructions are listed when you click the little question mark next to each.
YouTube
Vimeo
Headshot:
Here you can upload your headshot photo.
Note: NOT ALL TEMPLATES have an area for a headshot.
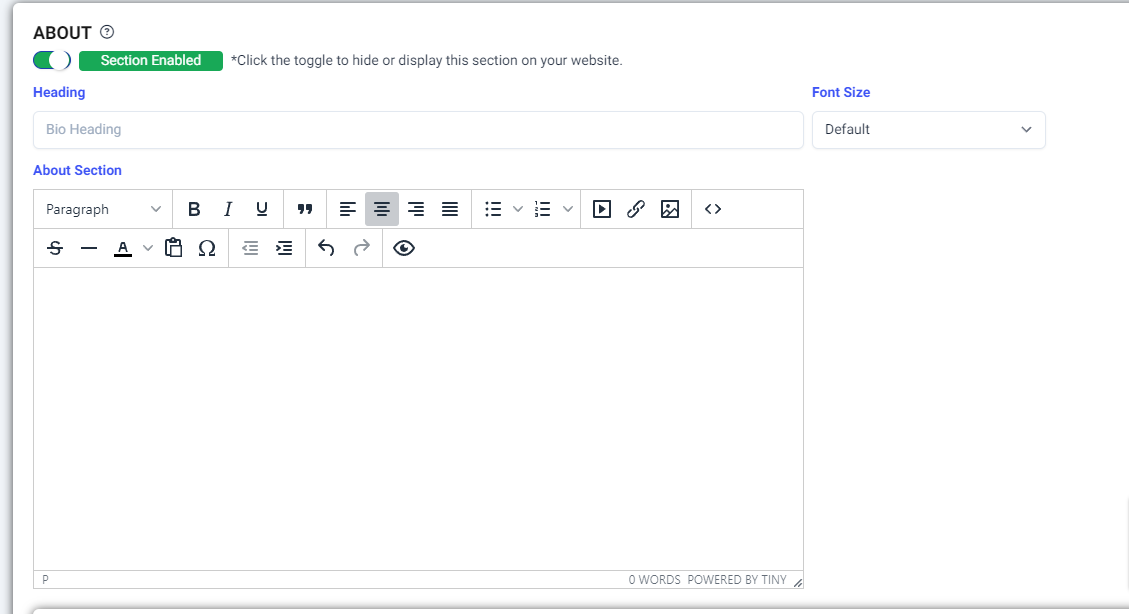
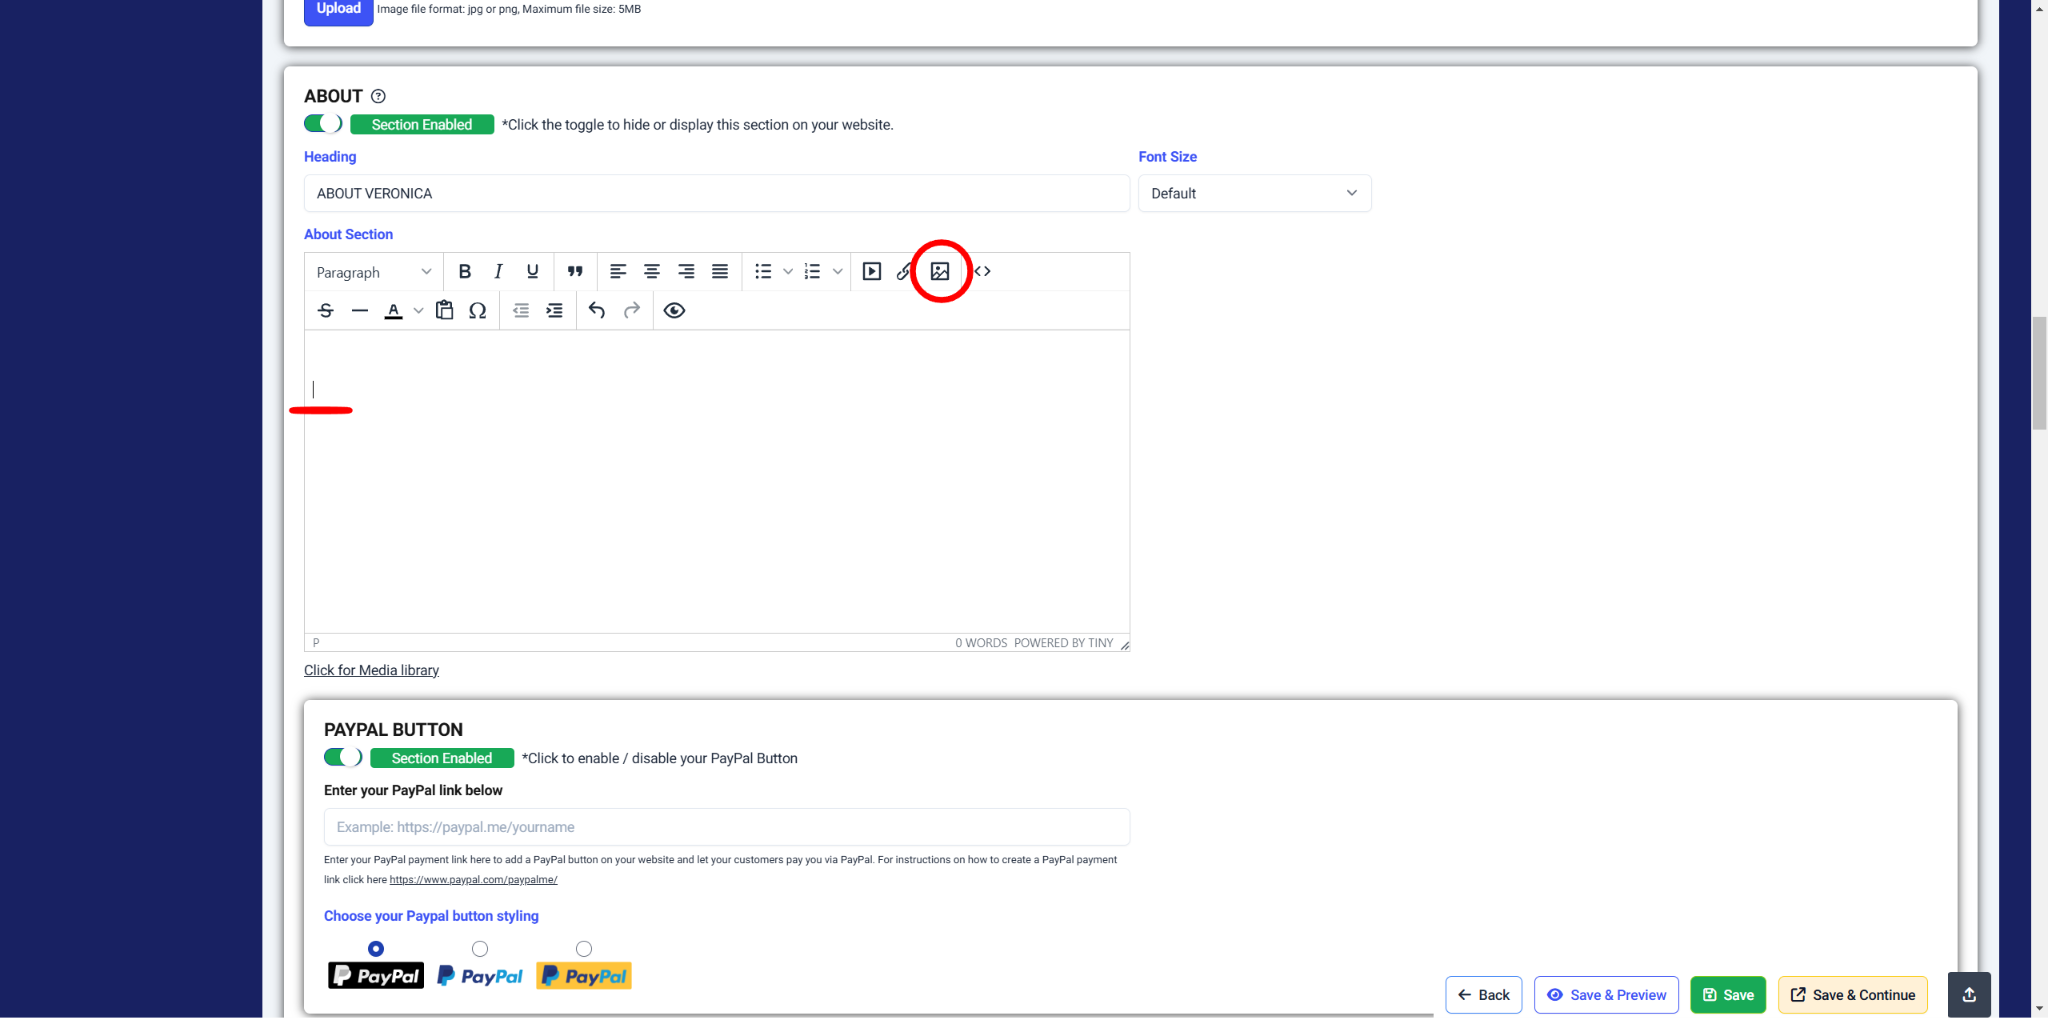
About:
Set a heading (e.g., About Me, Bio).
Write your biography using the text editor with formatting options.
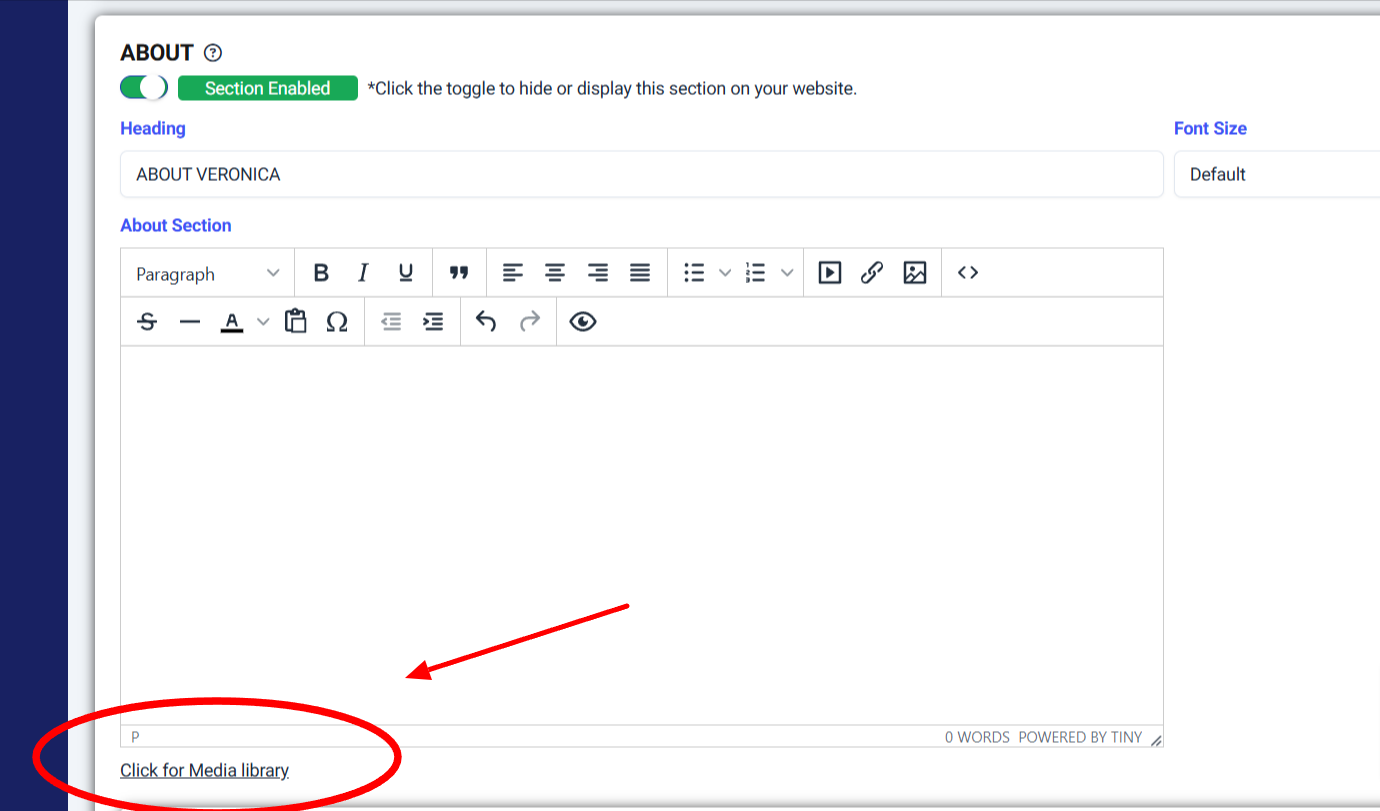
*Media Library for paid Subscribers
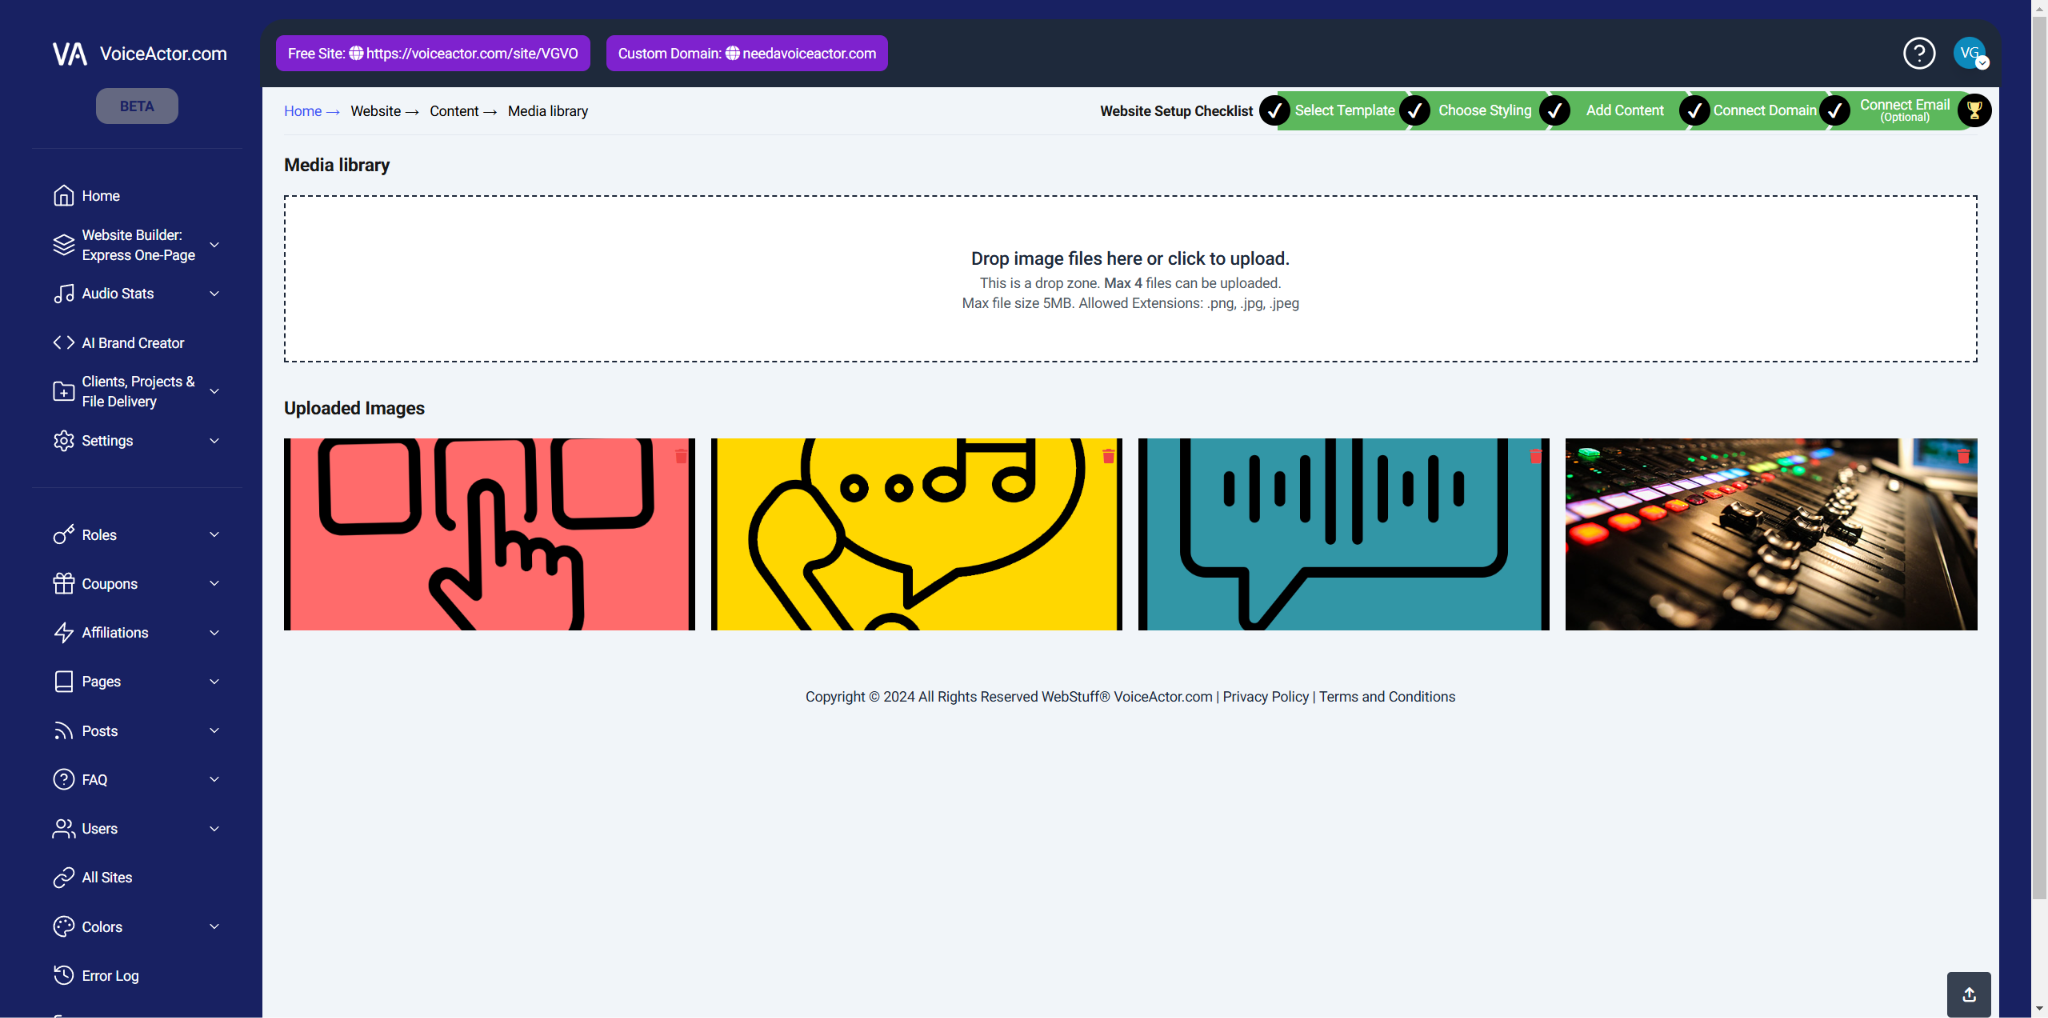
Once you click on media library, you are able to upload a max of 4 fils to use within your Bio section
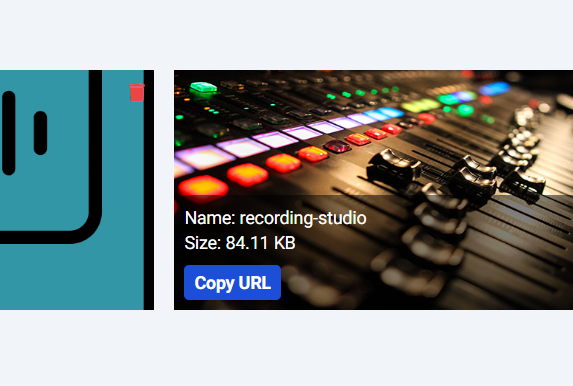
Once you drop in and upload your images, you will hover over image you want to use in your bio and click on the copy URL
Click on copy URL and then a pop up will show that your URL has been copied to clipboard, select OK
Once you select OK, select the tab to go back to your content page and Bio section.
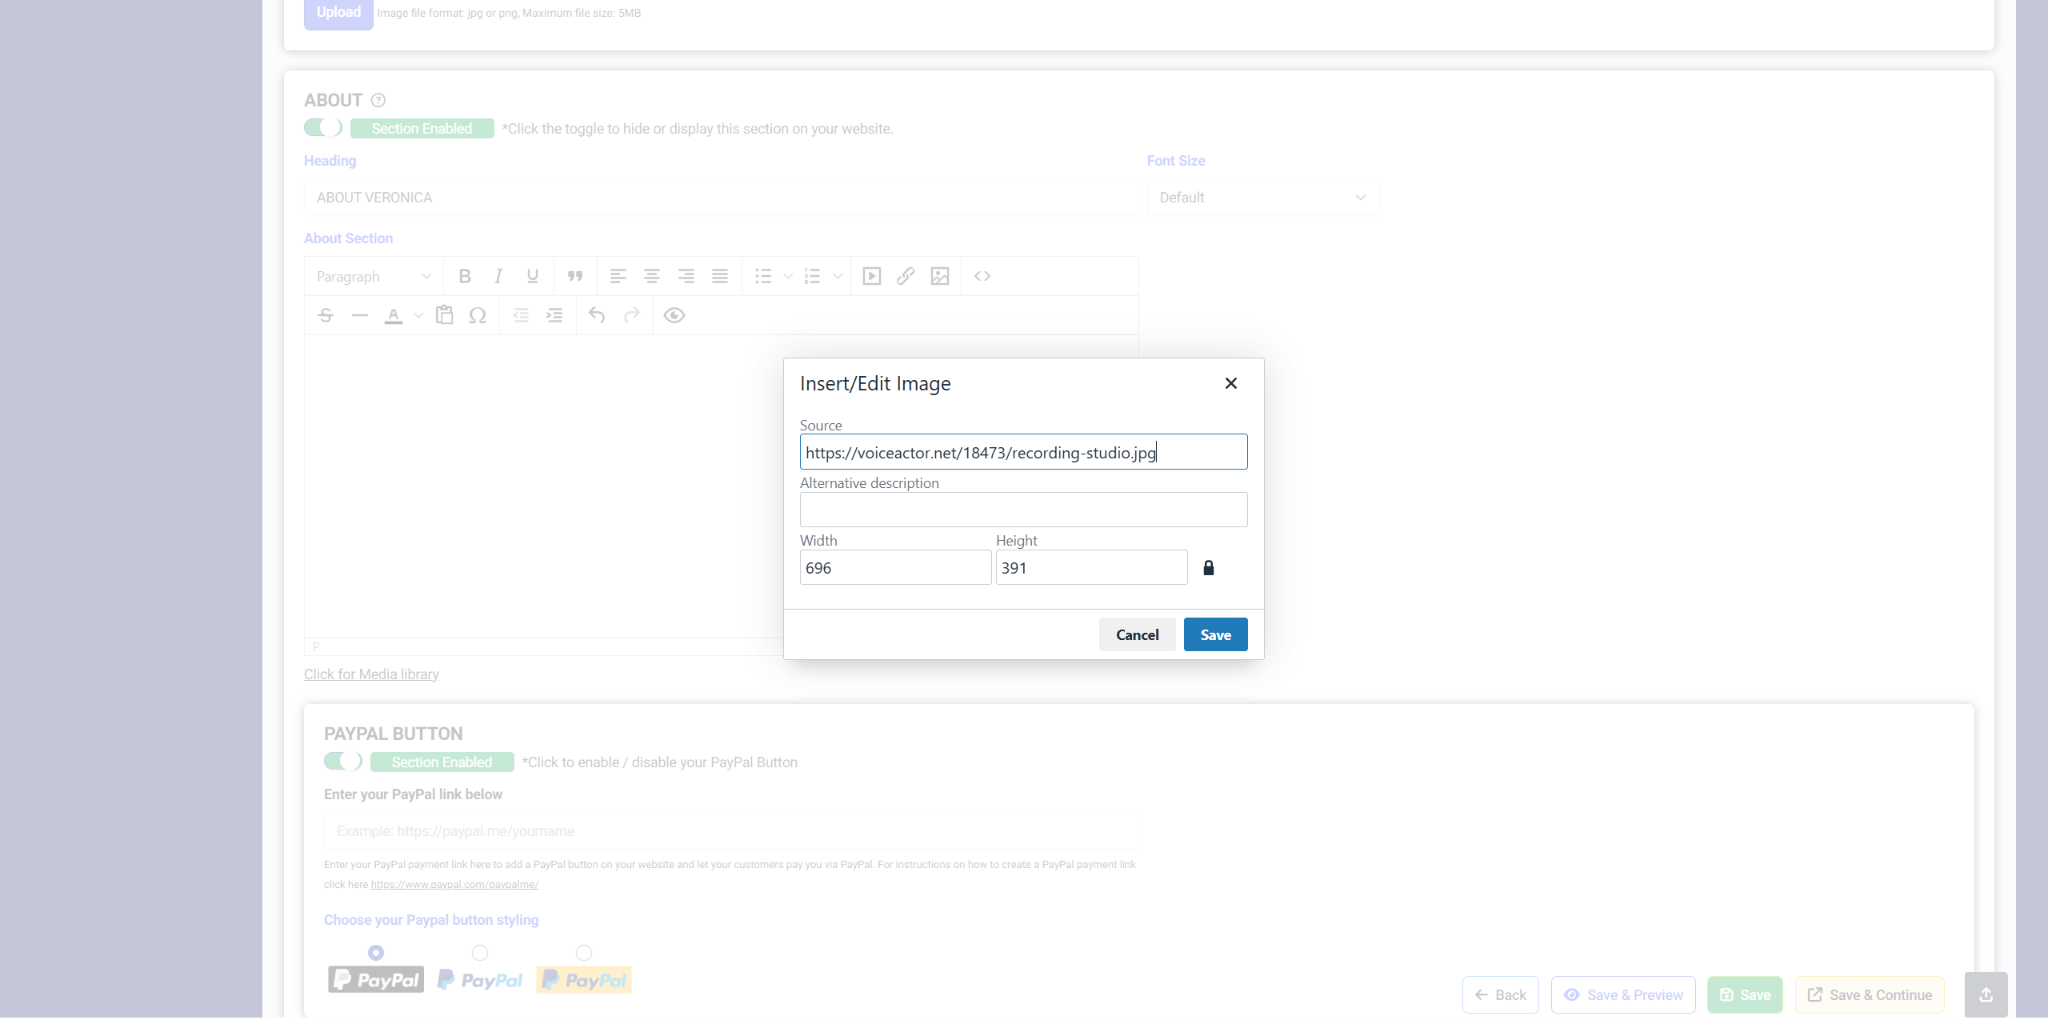
From here you will select the area within your BIO you wish to input the image. Once you have the area selected go to the picture icon in the BIO menu.
From here you will right click and paste in the URL you copied
*Note the Width and height as this can be changed later to your liking if you need to
After you pasted the URL in select SAVE
From here, your image will be in your bio and you can make size and placement adjustments to your liking.
When done you can save and Preview to have a better judgment on your next steps with the image.
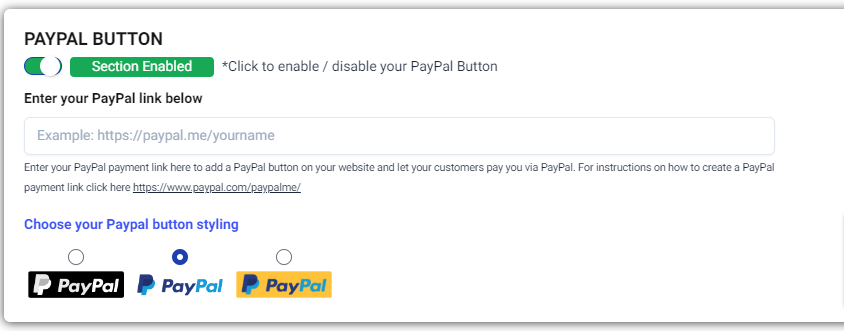
PayPal
-
If you would like to include a link on your website that directs people to your PayPal, you add it here. You also have 3 style options to choose from.
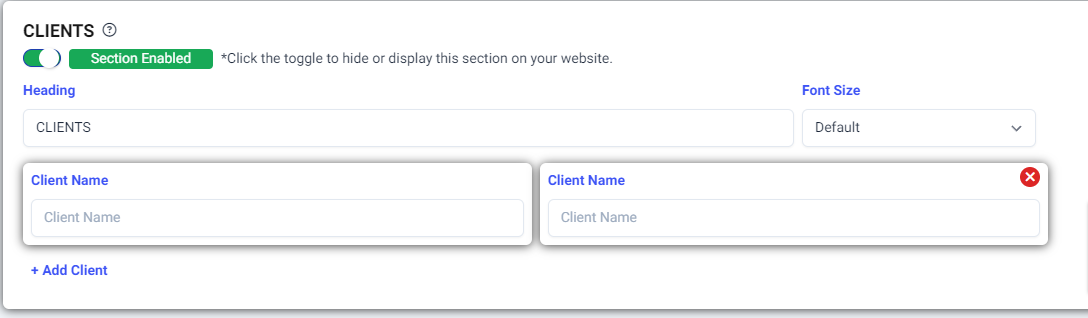
Clients
(Optional) Toggle visibility of a client list.
Set a heading (default: "Clients").
Add clients by clicking "add client" and typing their names.
Delete clients using the red "x" on individual entries.
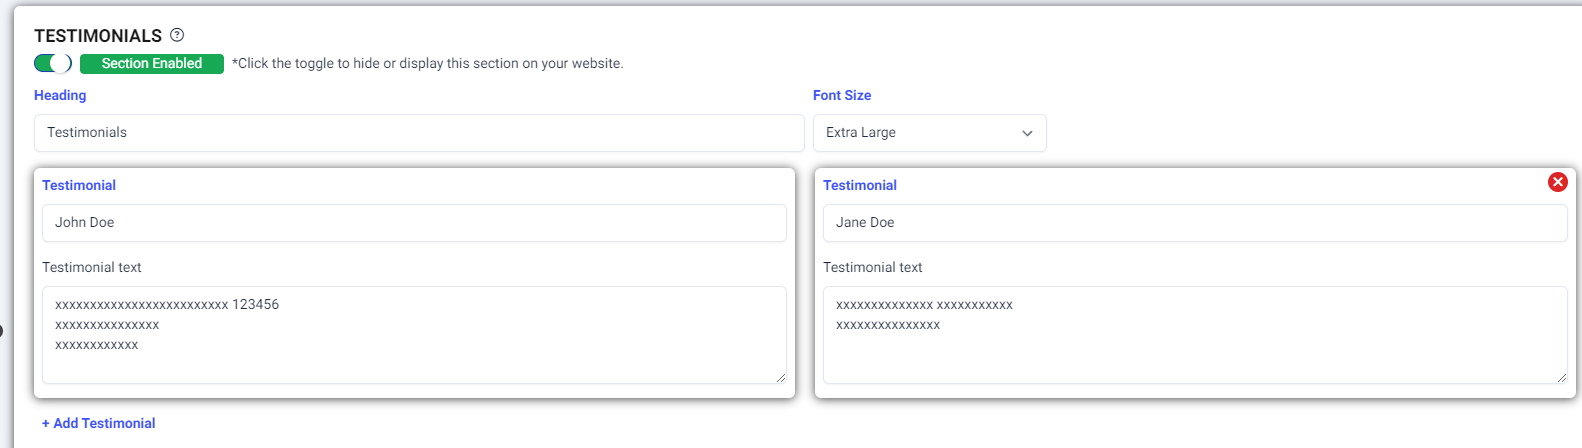
Testimonials
(Optional) Toggle visibility of testimonials.
Set a heading (default: "Testimonials").
Add testimonials by clicking "add testimonial" and typing the text.
Delete testimonials using the red "x" on individual entry.
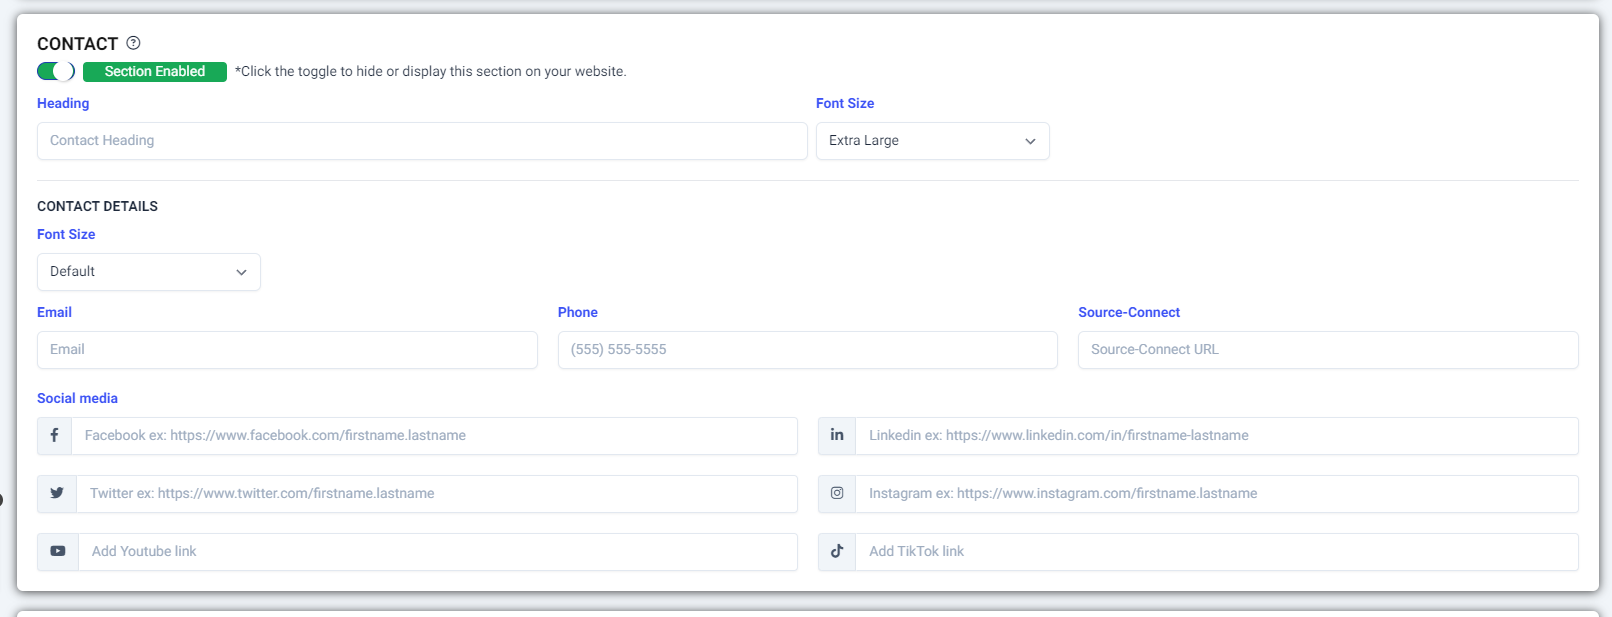
Contact
Add your contact information like email, phone number, and social media links.
Placement might vary depending on your chosen template.
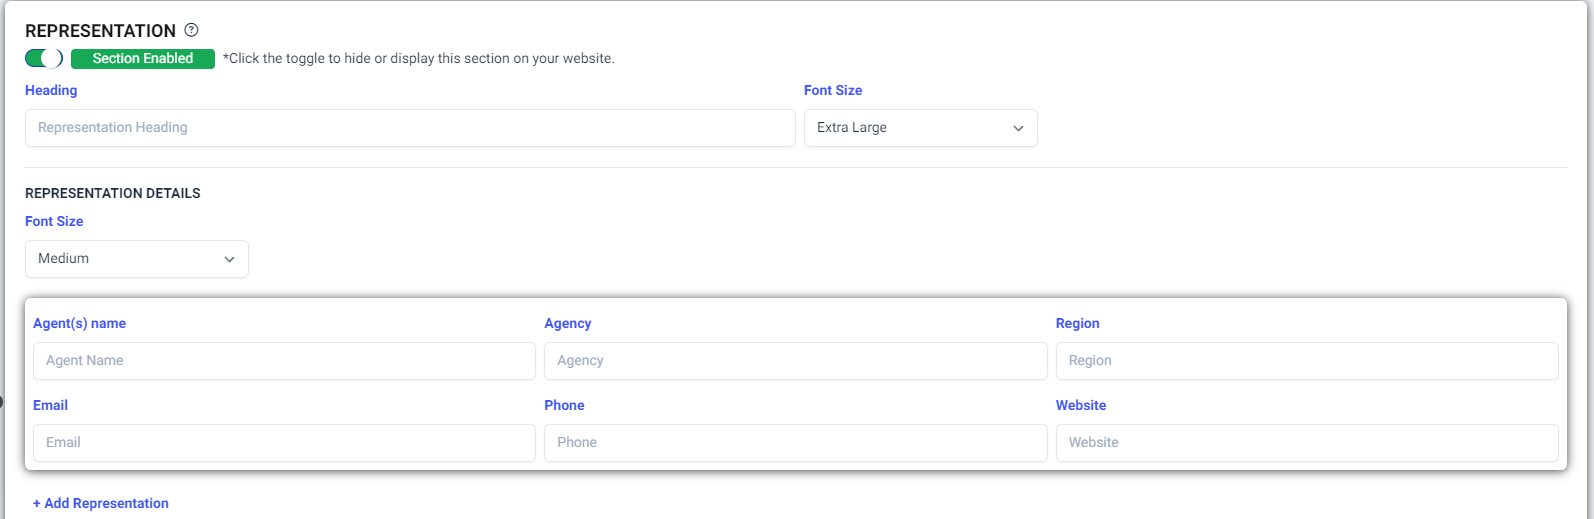
Representation
(Optional) Include information about your agent (if applicable).
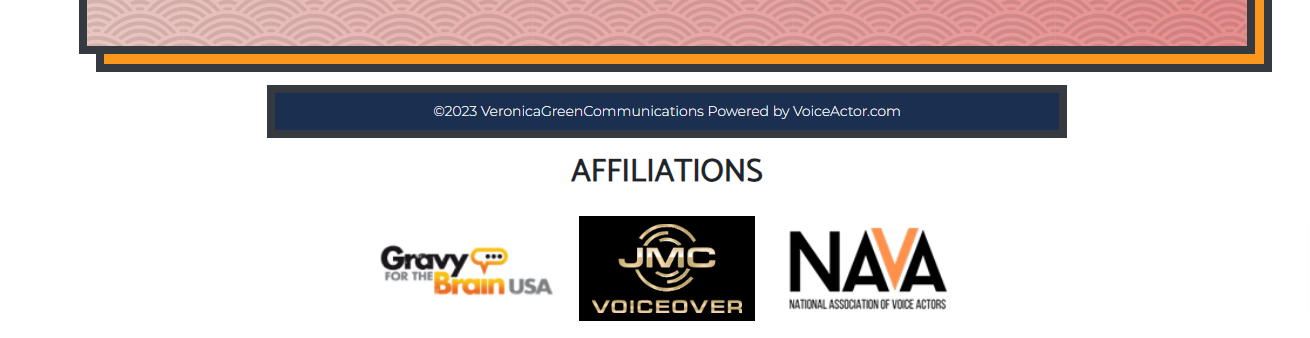
Legal
This is what appears at the very bottom of one’s webpage near the “powered by voiceactor.com”
Affiliations
Select logos of professional affiliations you belong to (displayed at the bottom of your website).
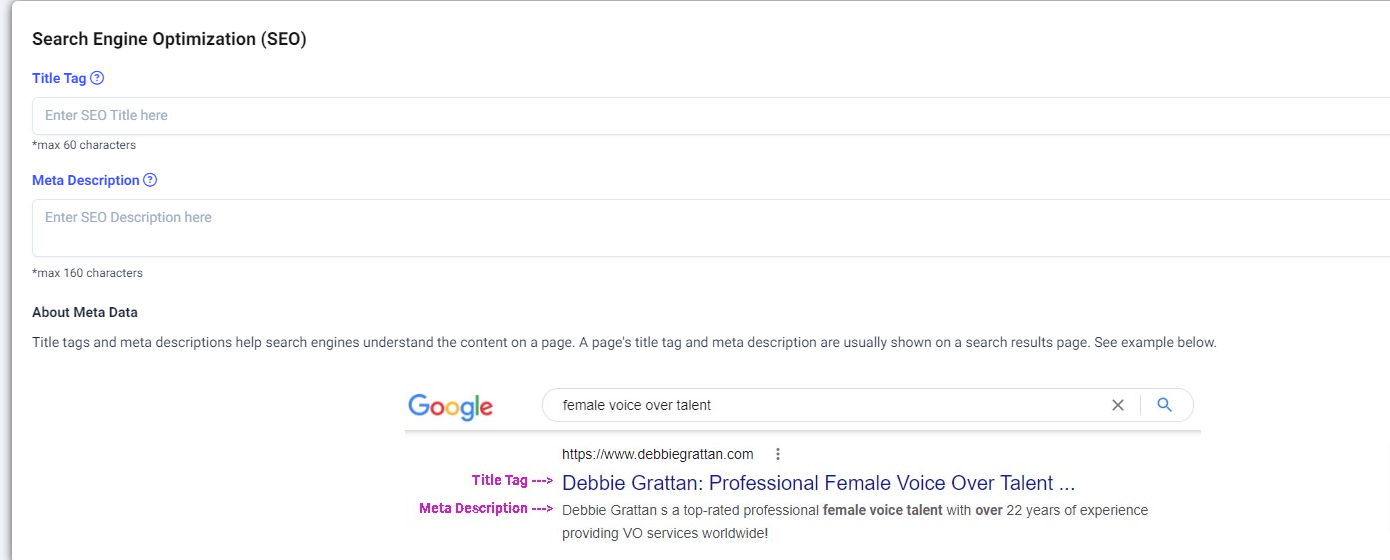
Search Engine Optimization (SEO)
Improve search ranking by adding a relevant Title Tag and Meta Description for your website (displayed in search results).
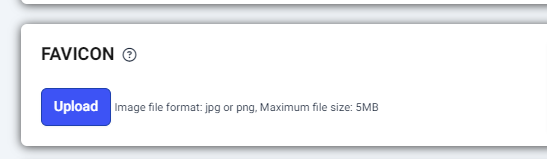
Favicon
Favicons are usually seen in a tab at the top of one's web browser. They can also be seen on a search results page alongside your Title Tag and Meta Description.
Note - you may want to check your favicon in Dark Mode on your browser to ensure viewability.
Social Share Image
Choose an image to be displayed when your website link is shared on social media or messaging apps.
Note - social share images have different sizes (ie aspect ratios/dimensions) than the favicon. If you use it, it may alter appearance.